Thanksgiving is more than a meal. It’s a meaningful moment styled with intention and shared with love; a chance to gather with the people who matter most, and to create something memorable, one detail at a time. Whether you’re hosting for the first time or returning to time-honored traditions, preparing the turkey is often the heart of the holiday.
At Le Creuset, we believe iconic gatherings start with intentional moments—from the tools you trust in the kitchen to the warmth you create at the table. This guide walks through the essential techniques of Thanksgiving turkey prep: from choosing the right bird to brining, trussing, roasting, and carving with confidence so you can make it a memorable, iconic meal.
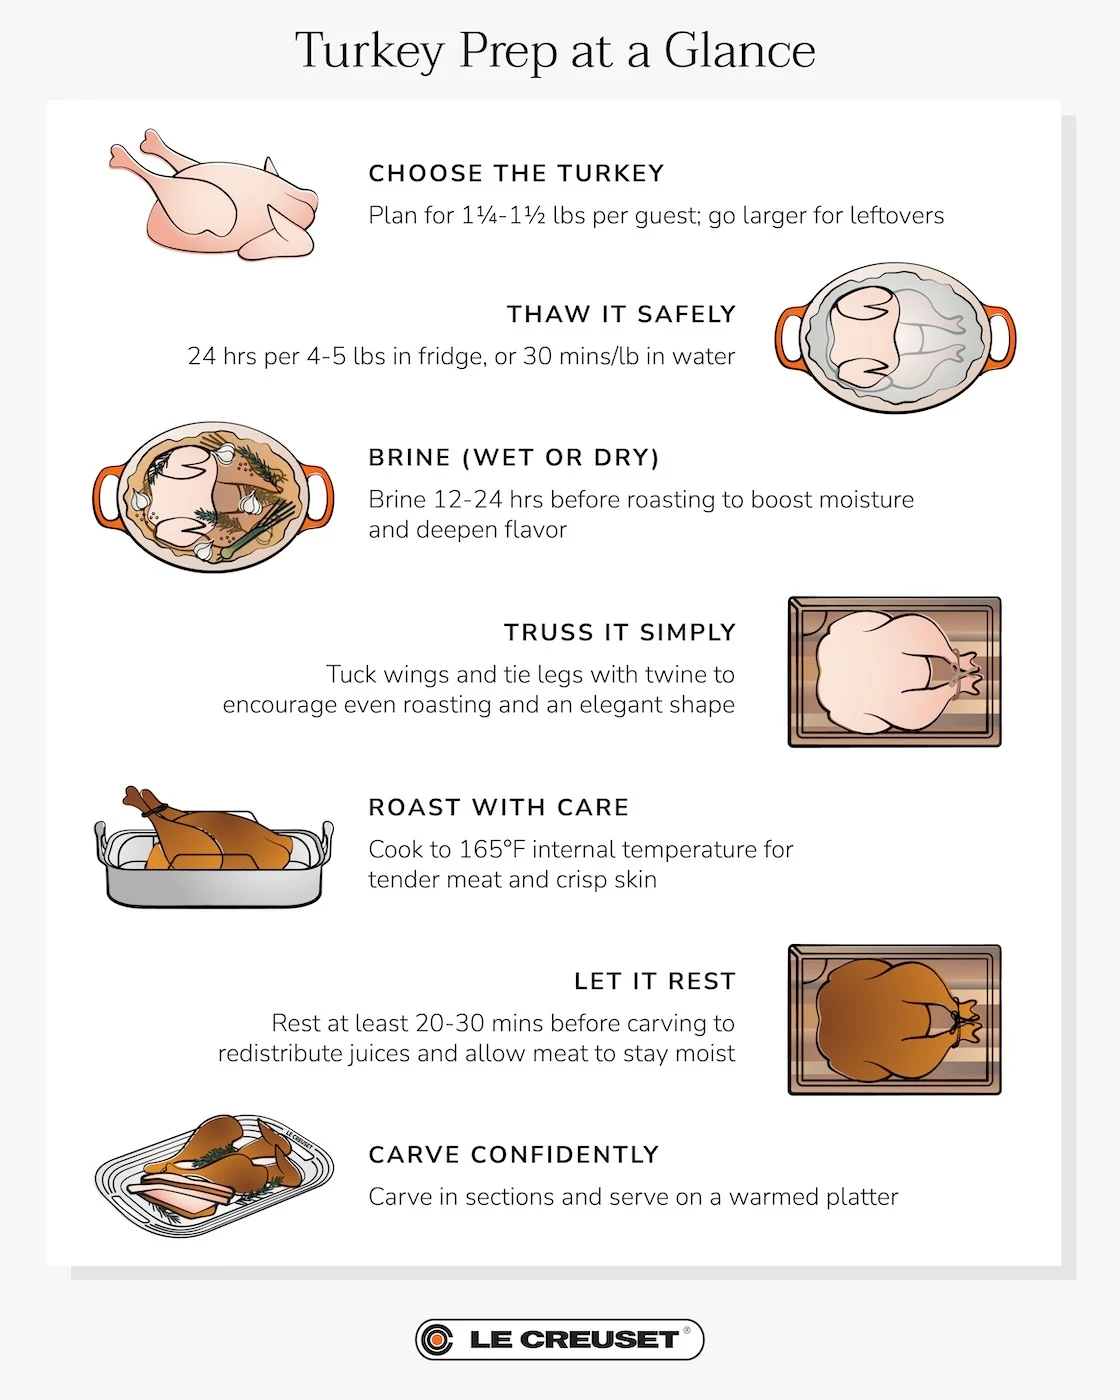
How to Choose the Right Turkey
Not all turkeys are created equal. Whether you’re shopping fresh or frozen, organic or heritage, selecting the right bird is the first step toward a memorable meal. Fresh turkeys offer convenience and shorter prep time, while frozen birds are often more economical and widely available. Consider the size of the turkey: aim for 1¼ to 1½ pounds per person, or more if you want leftovers. For extra flavor and tenderness, look for birds labeled “natural” or “organic” without added solutions or injections. A well-chosen bird sets the stage for a delicious centerpiece—just add proper preparation and the right tools.
How to Safely Defrost a Turkey
If you opt for a frozen bird, timing is everything when it comes to thawing. A frozen turkey requires careful planning and should never be left out to thaw on the counter. The best way to safely defrost is in the refrigerator, allowing 24 hours per 4-5 pounds of turkey. If space is at a premium in the fridge, you can also use the cold water technique. Submerge the bird in its wrapper in a deep pot or sink, changing the water every 30 minutes. This method will take 30 minutes per pound to defrost. Opt for large Dutch Oven or Stockpot to help contain the mess if space allows. Once thawed, the turkey can stay refrigerated for 1-2 days before roasting.
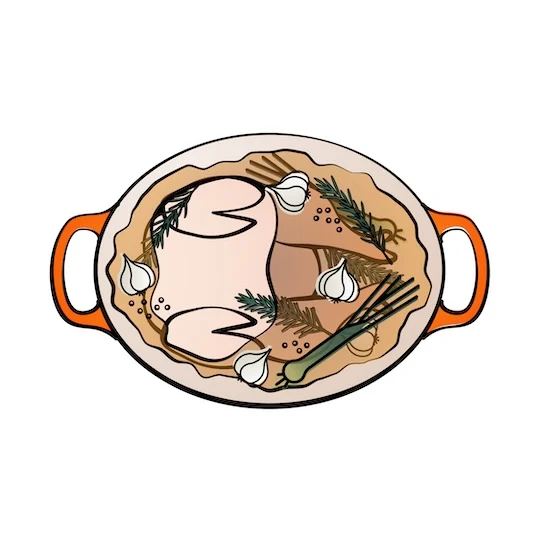
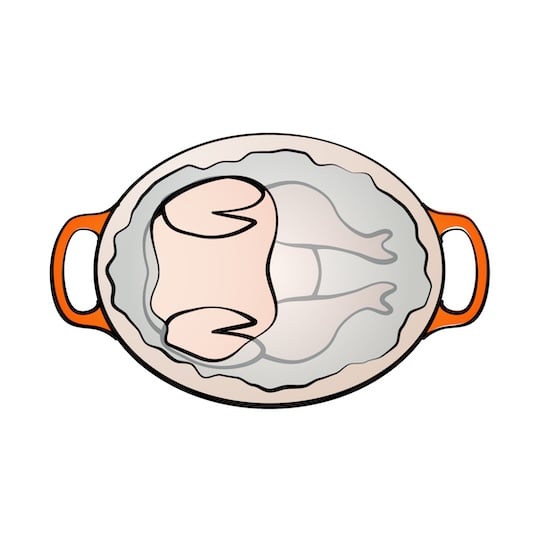
How to Add Flavor Through Brining
Brining is a method of seasoning that goes beyond the surface. Whether you opt for a wet brine (a solution of salt, water, and aromatics) or a dry brine (just salt and spices rubbed onto the skin), the goal is the same: to infuse the turkey with flavor and ensure juicy, tender meat. The technique works by breaking down muscle proteins, allowing the bird to retain more moisture as it roasts. Wet brines are classic and aromatic, perfect for infusing herbs and citrus. Dry brines are simpler to execute and leave the skin especially crisp. For best results, brine your turkey 12 to 24 hours before roasting, and be sure to dry the skin thoroughly before it goes into the oven.

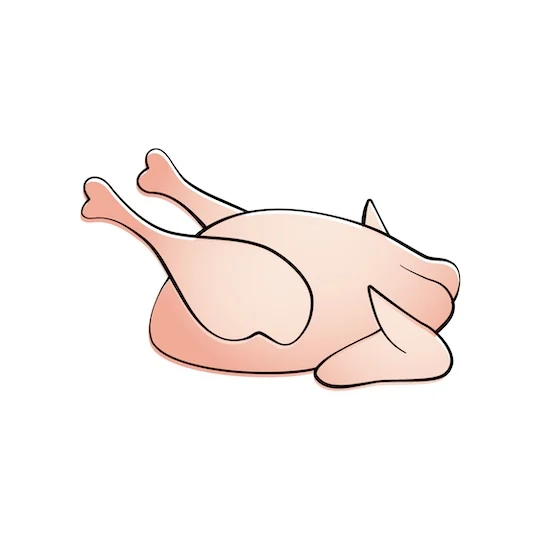
How to Truss a Turkey and Why it Matters
Trussing is the practice of tying the turkey’s legs and tucking in the wings before roasting. While it may seem purely aesthetic, this small step serves an important purpose: it encourages more even cooking and a compact, elegant shape that’s easy to carve and beautiful to serve. By securing the legs close to the body, the breast is shielded from overexposure to heat, helping to prevent it from drying out. Tucking in the wings also reduces the chance of burning. Fancy knots are not necessary; a simple loop of kitchen twine will do. Start by tucking the wings under the bird, then tie the legs snugly together at the ankles.

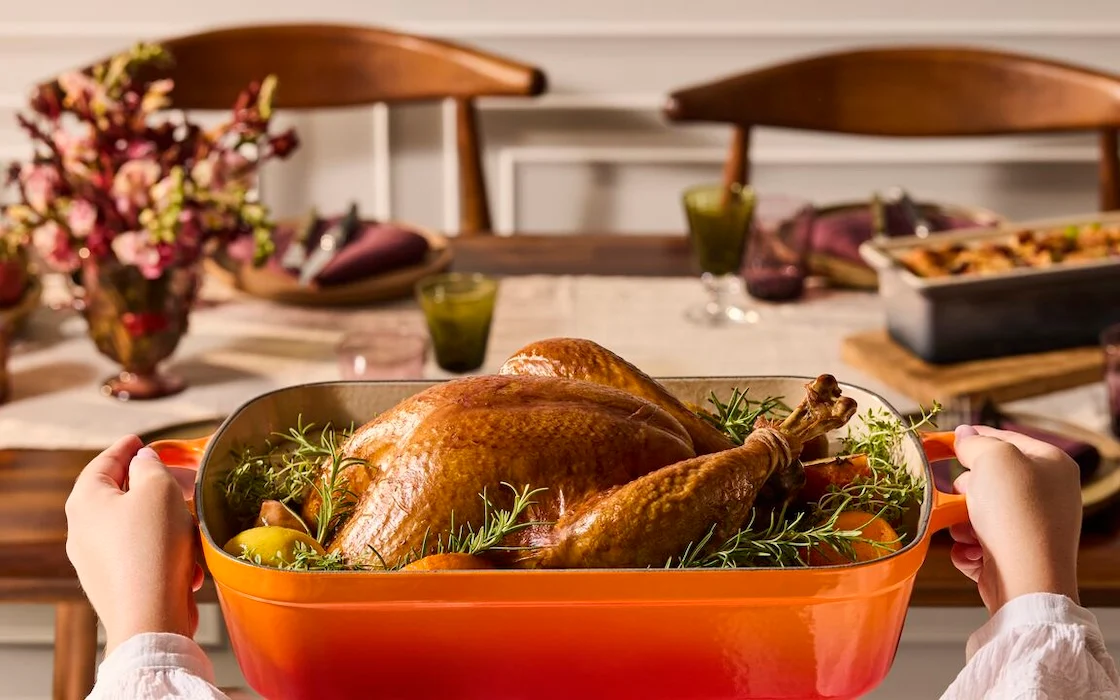
How to Master the Art of Roasting
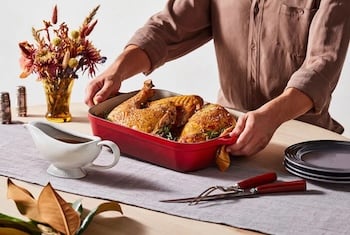
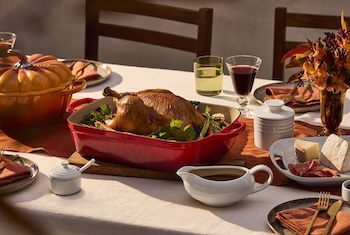
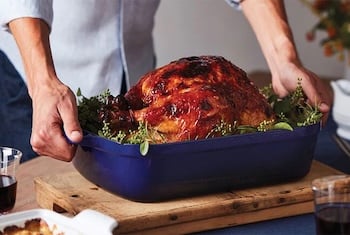
Always roast breast-side up in a shallow, sturdy roasting pan with a rack. No matter whether you choose the enameled cast iron Signature Roaster, the Stainless Steel Roasting Pan with Non-stick Rack, or even the versatile Signature Oval Baker, all are ideal for even heat, a perfectly cooked turkey, and an elegant presentation. While roasting, baste the bird occasionally with pan juices, stock or melted butter but avoid opening the oven too often. And always use a meat thermometer for accuracy. Look for an internal temperature of 165°F in the thickest part of the thigh to signal that the turkey is done. Always let the bird rest at least 20-30 minutes before carving—this locks in juices and gives you time to warm up side dishes or finish setting the table.

How to Carve with Confidence
Carving a turkey doesn’t need to be intimidating. The secret? Carve it in sections and use a sharp, well-balanced Slicing Knife. Also, it might be dramatic to bring the entire turkey to the table and carve it table-side, but that kind of pressure isn’t for everyone. Show off the beautiful bird, then take it back to the kitchen to carve. Start by removing the legs and thighs, separating them at the joint. Next, cut along each side of the breastbone to remove the breast halves whole, then slice them crosswise into even, tender portions. Finally, remove the wings. Use a Butcher Block with a juice well to help keep things tidy, and serve it all on a warmed large Serving Platter for a beautiful finishing touch.