Homemade stock is one of the secret ingredients chefs use to elevate their cooking – it gives soups, stews, sauces and many other recipes a depth of flavor that just can’t be achieved with store-bought products. But at home many only think about making stock from scratch for special occasions, like when turkey gravy is on the menu for Thanksgiving. Sure, it might be a little more work than opening a box, but making stock at home is a relatively easy culinary technique to master year-round. Follow our tips and techniques to make flavorful homemade stock using this simple, yet delicious method.

Stock Tips from our Kitchen
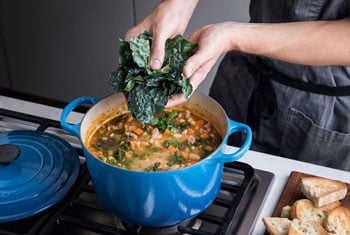
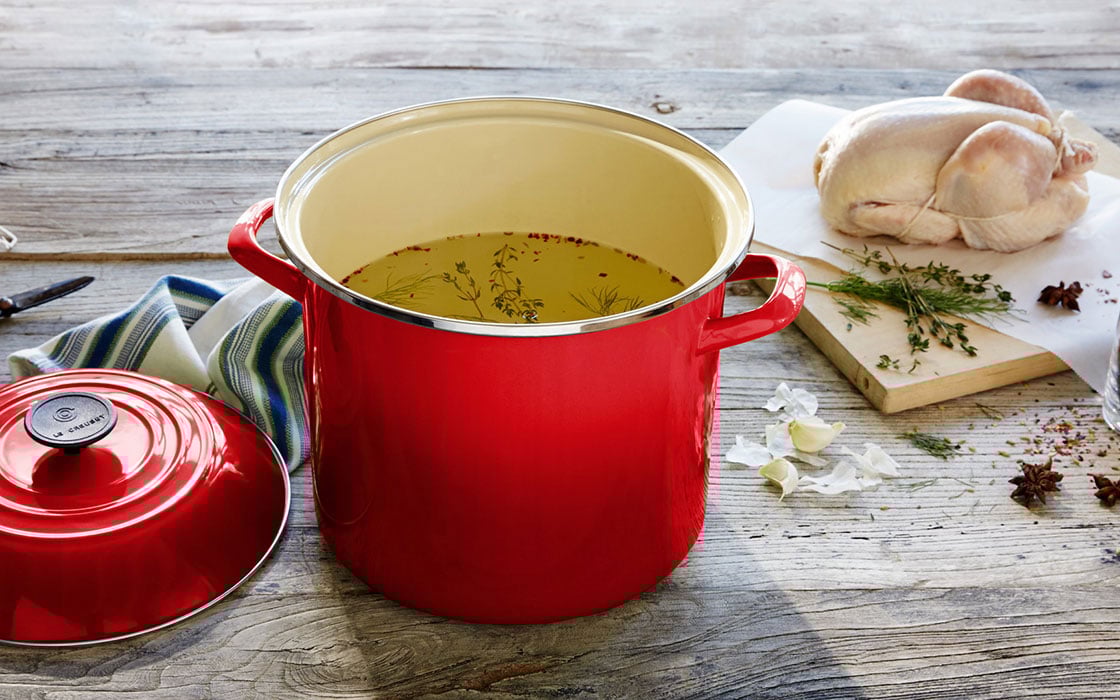
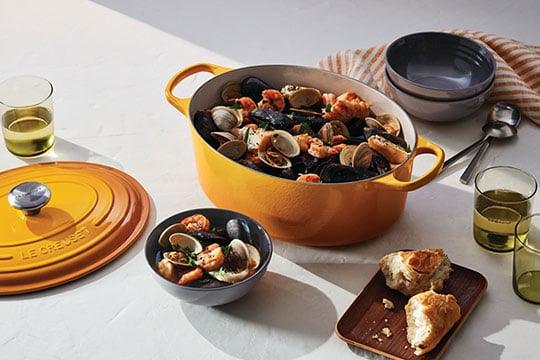
The classic recipe for homemade beef, chicken, turkey or veal stock simply combines bones with aromatic herbs and spices. Instead of bones, you can also use the shells from shrimp, clams and mussels to make fragrant seafood stock. Or you can skip the meat all together, and just use a variety of fresh veggies to make a vibrant vegetable broth. Any way you make it, all of the ingredients are placed in a stockpot, covered with water and simmered over low heat until the resulting liquid is fragrant and rich with flavor.
One of the benefits of homemade stock is that it is packed with collagen (if using bones) and infused with vitamins and minerals from the ingredients. And since you control the salt, it’s much lower in sodium than boxed stock. Plus, it costs less and keeps for months in the freezer so it’s ready whenever you’re ready to start cooking.
“Making your own stock allows you to control the flavor profile and amount of salt in the finished dish.”
Nate Collier
Le Creuset Director of Marketing Communications and Culinary
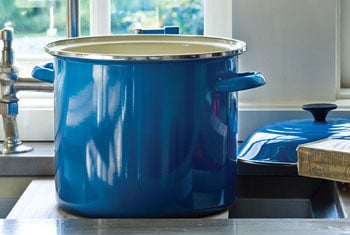
Before you start making stock at home, ensure you have everything you need on hand, starting with a large pot to hold everything. Appropriately named a Stockpot, the largest of these vessels can handle the leftover bones from a whole turkey with ease. You’ll also need a Wire Skimmer for removing large pieces at the end, a colander for straining and cheesecloth for lining the colander for the clearest results. And don’t forget to have another clean large pot or bowl on hand to strain the stock into at the end.
Lastly, be sure to plan enough time to let the stock fully develop. Once started, it doesn’t need much attention, only occasionally skimming off any foam that rises to the top. Let it simmer for a while – just 30 minutes to an hour for vegetable and seafood stocks, and up to several hours for chicken or beef stock to release all the nutrients and flavor from the bones and vegetables into the liquid. While the pot is bubbling on the stovetop, you’ll have plenty of time to finish other kitchen tasks for the meal at hand.
Basic Stock Recipe
This basic method for stock can be used with beef rib or shank bones, chicken wings, turkey necks, shellfish shells, vegetables and even smoked ham hocks to make a rich, satisfying stock. But chicken or turkey stock is probably the easiest to make at home, so this recipe is for a basic chicken stock. Simply omit the meat if making vegetable broth, or substitute any other bones or shells if desired.
- Place 5 pounds bones, or a leftover chicken or turkey carcass, into a large stockpot.
- Add 2 large carrots, 2 ribs celery and one onion, all roughly chopped.
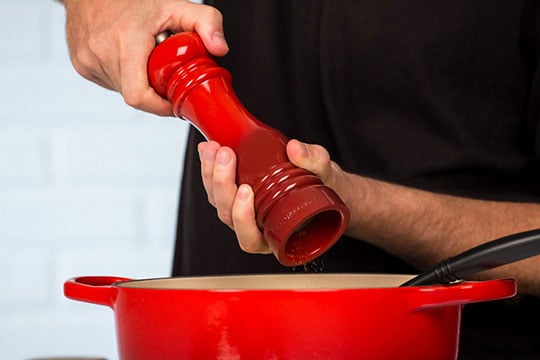
- Add 6 large peeled whole garlic cloves, 2 bay leaves, 1/2 teaspoon whole black peppercorns and 1/4 teaspoon salt.
- Add cold water to the pot and cover the ingredients by about two inches.
- Bring the liquid to a boil over medium-high heat, then immediately reduce the heat to low to bring it down to a gentle simmer.
- Let the stock simmer for about 4 hours, removing any foam that rises to the top with a large spoon.
- Let the mixture cool slightly, then use a skimmer to remove the large pieces from the pot and discard.
- Place a colander over a large bowl or another stockpot. Line the colander with cheesecloth. Pour the stock through the cheesecloth to strain.
- Refrigerate overnight. The next day, remove any hardened bits of fat from the top. Use immediately, store in the fridge for up to 4 days or place in individual containers to freeze for up to 6 months.