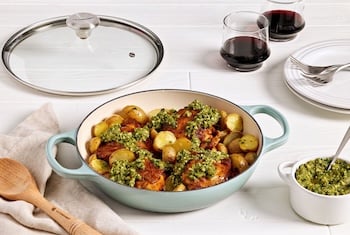
The braiser is one of the most versatile pieces in any kitchen. Like a cross between a Dutch oven and a skillet – with its wide base, sloped sides and plenty of depth for sauces and stews – it’s one of our more popular pieces of cookware. From searing and sautéing to slow cooking and serving, the braiser transitions seamlessly from stovetop to oven to table. The enameled cast iron construction provides steady, even heat, while the domed lid traps steam and deepens flavor with every step. This steady, even heat and moisture over time transforms tough cuts of meat and hearty vegetables into tender, flavorful dishes. The result? Fall-apart meats, creamy beans, and richly layered sauces. Whether you're preparing a weeknight meal or entertaining a crowd, the braiser delivers rich, satisfying results every single time.
Shop BraisersReady to get started?
Here's how to achieve braising perfection in four basic steps:
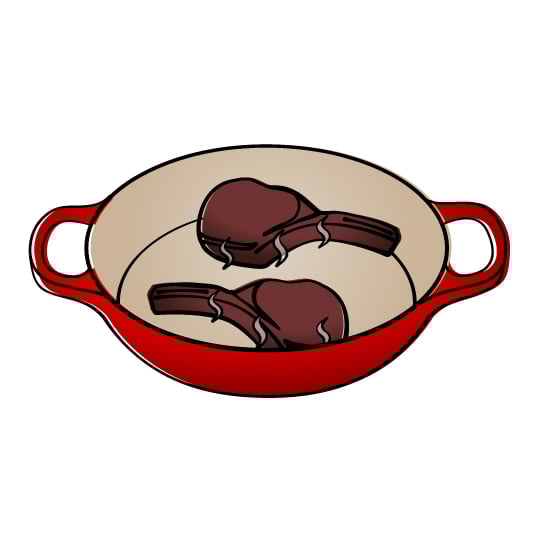
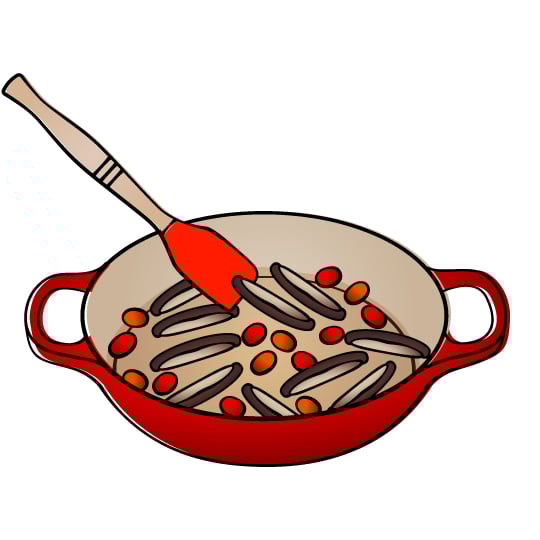
Step 1: Sear
Start by searing your meat and/or vegetables in a little bit of oil, in batches if necessary to ensure there is some room around the food. Searing adds a deep layer of flavor by caramelizing the proteins and sugars on the surface of the meat, and the cast iron base of the braiser holds steady, high heat that is ideal for developing a golden-brown crust. Make sure to pat your food dry before cooking and avoid overcrowding the pan!
Step 2: Sauté
After searing, the even heat distribution of the enameled cast iron helps you coax out the natural sweetness of onions, garlic, carrots and celery without scorching. Allow your aromatics to soften slowly and develop deep, complex flavor. Vegetables not only add sweetness and texture but also help build the base of your sauce. Cut them into even pieces and sauté until softened and golden—caramelized but not scorched. The smooth interior enamel makes it easy to manage browning without fear of burning.
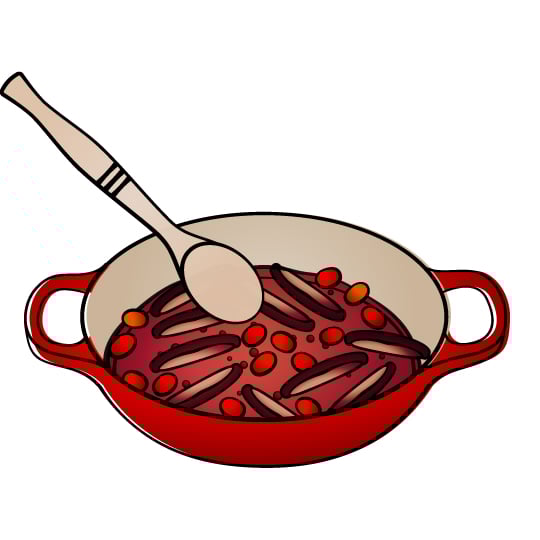
Step 3: Deglaze
After the vegetables are browned, a delicious crust of concentrated flavor, called fond, will remain in the pan. Thanks to the smooth enamel interior, it’s easy to lift all the flavorful fond. Simply add wine, broth or another flavorful liquid to deglaze the pan and use a wooden spoon or spatula to scrape up every bit of fond from the enameled surface; it will dissolve into the liquid, enriching your sauce with deep, layered flavor.
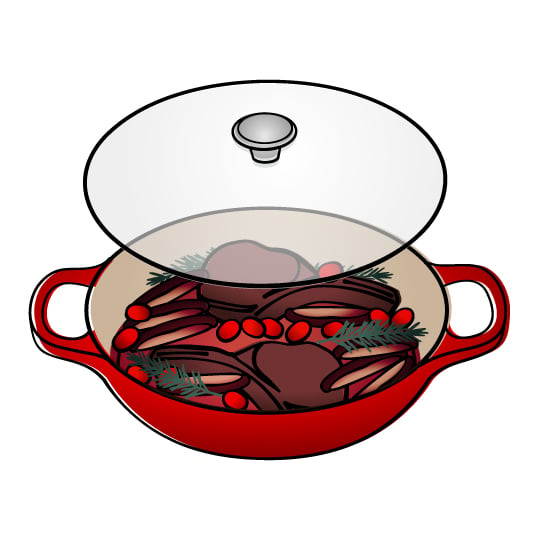
Step 4: Braise
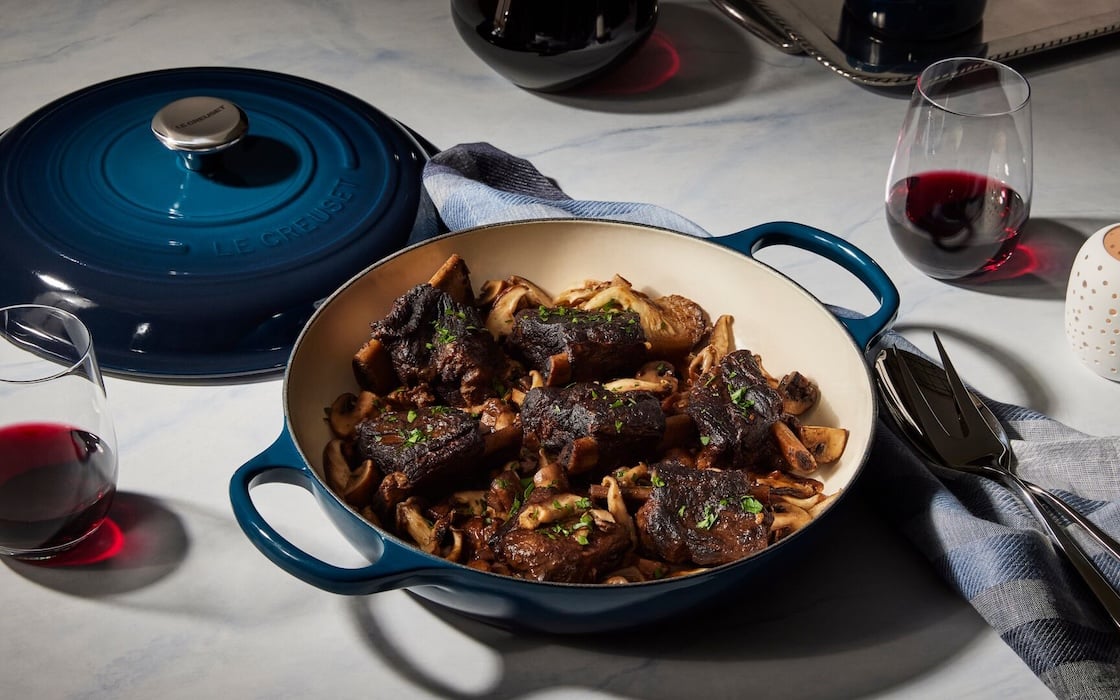
Return the meat to the braiser, adding enough liquid to partially submerge the ingredients. For this step, it’s fine to nestle the food tightly together in the bottom of the braiser. Add more liquid until it comes halfway up the sides of the meat and/or vegetables and bring the liquid to a simmer. Once liquid is added, the tight-fitting lid and cast iron base work in tandem to trap heat and moisture. Cover, transfer to the oven and let it cook low and slow until everything is tender and the sauce is thickened to perfection. The steady, gentle heat ensures an even braise, while the lid circulates condensation back into the pot, intensifying flavors and keeping ingredients moist during long, slow cooking.
Related Posts
Step 1: Sear
Start by searing your meat and/or vegetables in a little bit of oil, in batches if necessary to ensure there is some room around the food. Searing adds a deep layer of flavor by caramelizing the proteins and sugars on the surface of the meat, and the cast iron base of the braiser holds steady, high heat that is ideal for developing a golden-brown crust. Make sure to pat your food dry before cooking and avoid overcrowding the pan!
Step 2: Sauté
After searing, the even heat distribution of the enameled cast iron helps you coax out the natural sweetness of onions, garlic, carrots and celery without scorching. Allow your aromatics to soften slowly and develop deep, complex flavor. Vegetables not only add sweetness and texture but also help build the base of your sauce. Cut them into even pieces and sauté until softened and golden—caramelized but not scorched. The smooth interior enamel makes it easy to manage browning without fear of burning.
Step 3: Deglaze
After the vegetables are browned, a delicious crust of concentrated flavor, called fond, will remain in the pan. Thanks to the smooth enamel interior, it’s easy to lift all the flavorful fond. Simply add wine, broth or another flavorful liquid to deglaze the pan and use a wooden spoon or spatula to scrape up every bit of fond from the enameled surface; it will dissolve into the liquid, enriching your sauce with deep, layered flavor.
Step 4: Braise
Return the meat to the braiser, adding enough liquid to partially submerge the ingredients. For this step, it’s fine to nestle the food tightly together in the bottom of the braiser. Add more liquid until it comes halfway up the sides of the meat and/or vegetables and bring the liquid to a simmer. Once liquid is added, the tight-fitting lid and cast iron base work in tandem to trap heat and moisture. Cover, transfer to the oven and let it cook low and slow until everything is tender and the sauce is thickened to perfection. The steady, gentle heat ensures an even braise, while the lid circulates condensation back into the pot, intensifying flavors and keeping ingredients moist during long, slow cooking.